Fix Error PCL XL in Windows 10: Usually, in Windows 10, PCL XL error occurs due to printer driver corruption. This error is shown up when we are printing some documents. But in case you’re getting this code error, don’t worry about this code. There are solutions available that will easily solve this issue on your Windows 10 PC. If you are looking for the answer to the question- How to Fix Error PCL XL in Windows 10? In this guide, you will find out the methods to resolve this error code. But before we start, you have to do some workarounds first.
Things to do first:
If you are facing this error code for the first time on your computer, firstly reboot your computer and printer device, and after rebooting check if the error is still happening or not, by printing something with the printing device.
Please follow the following steps:
Step 1. Switch off your printing device and disconnect this device with your computer, and wait for a while.
Step 2. Now, reconnect your printing device to your computer and turn it ON. Check if still appearing the PCL XL error code or not.
Step 3. Sometimes it occurs due to a pending Windows 10 update too. So, make sure if any Windows Update is pending or not. If any update is pending on your computer then, please download it and install it on your computer.
If any of the above workaround is not working, then you can go forward for the following solutions:
- Uninstall and Reinstall printer device.
- Change the printing preferences on your computer.
- Rename the files related to the printer.
- Use Printer Troubleshooter
Method 1- Uninstall and Reinstall printer device.
Uninstalling and reinstalling your printer device driver may help you to fix this issue. To uninstall and reinstall the driver, please follow the given steps:
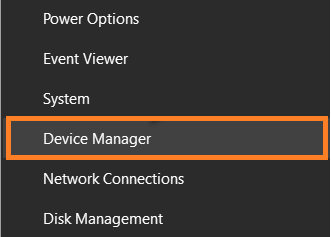
Step 1. Open Device Manager by pressing “Windows key+X” together, and then click on the Device Manager.
Step 2. Now, in the device manager, click on the “Print queues” to expand it. You will see the list of your printing drivers here.
Step 3. Now, choose your current working printer driver: in my case, it is AnyDesk printer- make a right-click on the working driver then, click on the “Uninstall Device” option.
Step 4. If you see a warning popup, then click on “Yes” to confirm the uninstallation.

Step 5. Now, reboot your computer, and when it is done, the printer driver should be auto-installed on your PC.
In case your printer driver is not installed automatically, then you can install it manually by following these steps:
Step 1. Open Device Manager by pressing “Windows key+X” together, and then click on the Device Manager.
Step 2. Now, a device manager window will open, click on the Action, and then click on “Scan for hardware changes.”

Step 3. Windows will detect the absence of the printer device driver and install it automatically.
Now, you can go to print something on your PC. If still having the issue, you can go forward with the second method.
Method 2. Change the printing preferences on your computer.
A faulty printer preference may also cause the error. So, change your printing preference, and this can fix this issue.
Step 1. Open the Run Dialog Box by pressing “Windows+R” together.
Step 2. Now, type- “Control Printers” in the search bar area. Hit the Enter button after typing.

Step 3. Now, the Device and Printers window will open, in this window, scroll down to find out the printer device that you are currently using then make a right-click on it then, click on – “Printing preferences.”

Step 4. Now, click on the Advanced option which is below in the right corner.
Step 5. Now, set “Truetype Font” to “Download as Softfont”, and “Send True Type as Bitmap” to “Enabled.”
Step 6. Now, click on the Apply button then, click on the OK button to save changes that you have made.
You can fix this issue by renaming a particular type of file. To do this, please follow the following steps:
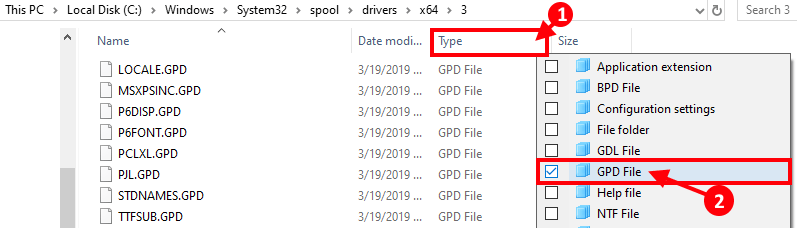
Step 1. Open the File Explorer window by pressing- “Windows key+E” shortcut. Now navigate the following location on your computer-
C:\Windows\System32\spool\drivers\x64\3
In this folder, check the “.gpd” extension by clicking on the ‘Down Arrow’ beside the ‘Type.’ Now, you will see the files with the .gpd extension.
Step 2. Now, select all files by using the shortcut– “Ctrl+A” then copy them by pressing ‘Ctrl+C’ by doing this, you can save all files to create a backup of those files on your computer.
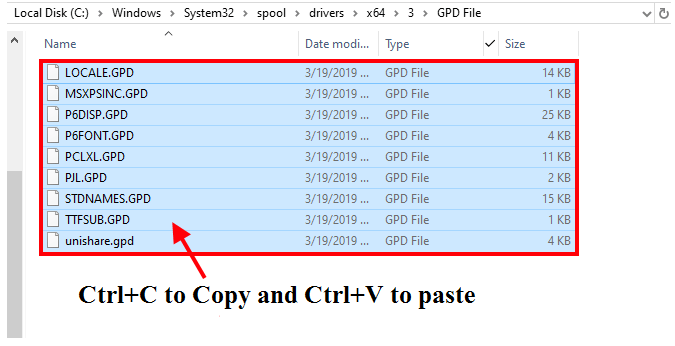
Step 3. Make a right-click on the first .gpd extension file then, click on the rename option to rename it with your choice. In the same way, you can rename all .gpd extension files present on your computer.

Now, reboot your PC and try to print something again.
Method 4- By using Printer Troubleshooter.
If you are still facing the problem after applying all the above methods, you can go with the printer troubleshooting method: which will detect and troubleshoot the printer issue on your Windows 10 computer.
Step 1. Open Windows Settings by pressing the Windows +I key together.
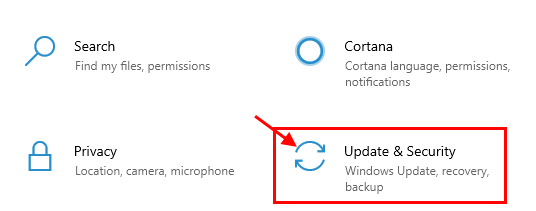
Step 2. Now, click on the “Update & Security” option from the setting window.
Step 3. Now, on the left-hand side, you will see the “troubleshoot” option, click on it. You will see the Printer option on the right-hand side, click on this then click on the “Run the troubleshooter” option.

This will run the troubleshooting process on your computer and detect any problem with your printer.