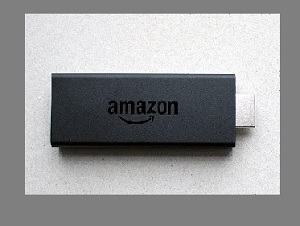
Amazon Fire Stick is an online streaming media player that allows users to access all the contents in 4K UHD. An Error code 8056 on Amazon Fire Stick is appearing when users trying to update their Fire Stick firmware or apps. This guide is for the solution to this error code. Somehow, if the same error message is appearing on your screen then, fix it now with the help of the steps and methods mentioned in this post.
Description of Amazon Fire Stick Error Code 8056
Amazon Fire Stick Error Code 8056 indicates an issue with the updation of the Fire OS or any apps on the Fire Stick. Users may get different error messages when the updation process of the fire OS fails. Restarting your router or resetting your amazon fire stick may help in fixing the error code. In addition, users may also try to change the DNS settings on the Fire Stick.
Error messages that may appear when the Updating process of Fire OS fails:
- Error code 8056.
- Update Failed.
- Stuck on update
- The process is completed, but it reverts to the updating page.
How to Fix Amazon Fire Stick Error Code 8056

- Restart Your Router and check your Internet Connections.
- Restart your Fire Stick.
- Reset the Fire Stick(Factory)
- Change The DNS Settings on Fire Stick.
Restart Your Router and check your Internet Connections
In most cases, an updation process is stuck due to a poor internet speed or connection. So, you should try this, first. Just restart your router, and check all connections also.
After restarting your router and checking all connections, if the issue is still, then restart your Firestick once and check if the error has gone or not.
Factory Reset your FireStick
- Access the settings menu.
- Now, select Device Options.
- Next, look for the option- Reset to Factory Defaults and enter the pin when asked.
- Now, select Reset. That’s it.
Change The DNS Settings on FireStick to Fix Error Code 8056
First, note down the IP address and your Fire Stick’s DNS data then, proceed to change manually. To get your IP, just type what is my IP? in the google search bar and note down the result. Next, you have to follow this path to get your FirStick’s DNS data:
Settings > My fire TV > About > Network > Select your WIFI network. Now, note down these data:
- SSD
- Gateway
- Subnet Mask
- DNS
- Mac Address for WIFI.
Now, follow these steps to change the DNS Settings:
- Access Settings then go to Network.
- Now, Click on the Forget Network option, and press the selector button on your remote to confirm the activity.
- Select your WIFI network and enter your password.
- Now, Click on the Advanced option.
- Enter all data respectively that you have noted down before.
- Now, enter 8.8.4.4 or 8.8.8.8 in the DNS 2 server feed.