
Have you noticed that your Lenovo Yoga laptop is running out of storage space? Maybe your computer takes longer to open files, your downloads keep filling up the drive, or you cannot install another application because there is not enough room. If that sounds familiar, you might be wondering whether you can upgrade your Lenovo Yoga laptop’s SSD without buying a completely new computer.
The good news is that some Lenovo Yoga laptops allow SSD upgrades, and replacing the existing drive with a larger or faster one can be a practical way to improve your laptop’s storage capacity. However, not every Yoga model supports the same type of upgrade. Some have a replaceable SSD, while others have storage that is difficult to access or is soldered directly to the motherboard.
Before you purchase a new drive or open your laptop, you need to identify your exact model, check its storage specifications, and understand the upgrade process.
In this guide, we will walk through everything you need to know about upgrading your Lenovo Yoga SSD.
Can I Upgrade My Lenovo Yoga Laptop SSD?
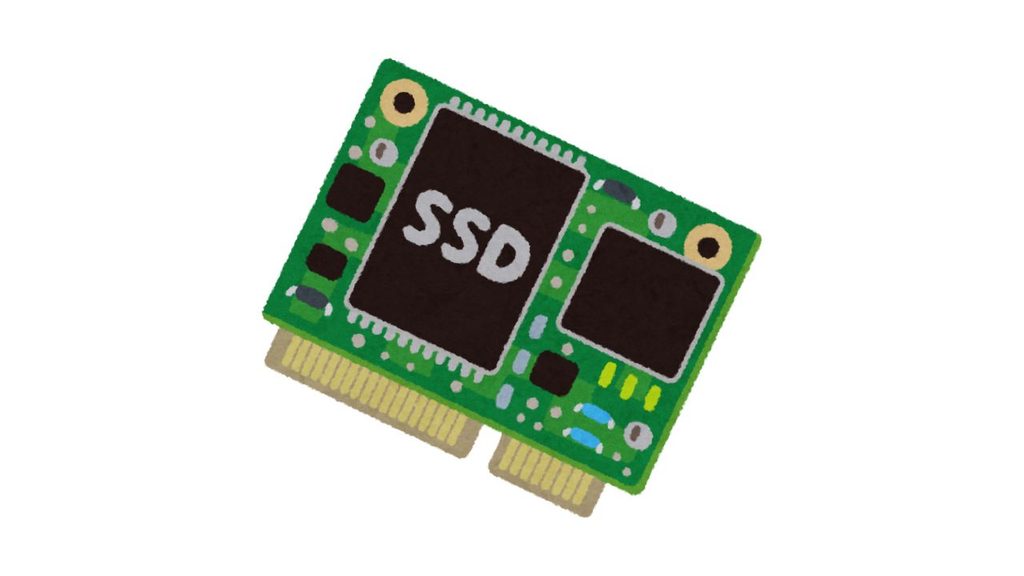
Yes, you can upgrade the SSD in many Lenovo Yoga laptops, but it depends on your exact model. Lenovo sells several Yoga product families, including Yoga 7, Yoga 9, Yoga Slim, and older Yoga 2-in-1 laptops. Their internal hardware designs are not all the same.
For example, some models use a removable M.2 NVMe SSD, which can be replaced with a compatible drive offering more storage. Other models have different storage configurations, so you should never assume that an SSD upgrade will work just because another Lenovo Yoga laptop supports one.
Step 1: Identify Your Exact Lenovo Yoga Model
Start by finding your laptop’s full model name or machine type. This is the most important step because it determines which SSDs are compatible with your computer.
On Windows, press Windows + R, type msinfo32, and press Enter. Look for the System Model field in the System Information window.
You can also check the label on the laptop’s underside or open Lenovo’s support website and use the laptop’s serial number or model information to locate its product specifications.
Once you have the exact model, find its hardware maintenance manual or official specifications. Check whether the SSD is replaceable and what storage interfaces and drive sizes the laptop supports.
Do not buy an SSD until you have confirmed compatibility with your exact model.
Step 2: Check Whether Your SSD Is Replaceable
The next step is to determine how your laptop’s storage is installed.
Many Lenovo Yoga models use an M.2 SSD, often with an NVMe interface. Some use a 2280-size drive, which measures 22 millimeters wide and 80 millimeters long. Other models may support a shorter drive or a different configuration.
The physical size and interface matter. An M.2 connector does not automatically mean that every M.2 SSD will work. You must also check the supported protocol, dimensions, capacity limits, and other model-specific requirements.
If your laptop has soldered storage rather than a replaceable SSD, a conventional drive swap may not be possible.
For that reason, check the official hardware maintenance documentation before opening the laptop. If the documentation confirms that the drive is removable, you can move on to choosing a replacement.
Step 3: Choose the Right SSD Capacity
Once you know that your laptop supports an upgrade, decide how much storage you need.
If your current drive is 256GB and you regularly run out of space, moving to a 512GB or 1TB SSD could give you more breathing room. If you store large video files, games, photos, or professional projects, a compatible 2TB SSD may be worth considering, provided your laptop supports that capacity.
Think about how you use your computer rather than choosing the largest drive automatically.
For everyday browsing, schoolwork, office applications, and document storage, 512GB or 1TB may be sufficient for many users. For larger creative projects or extensive local storage, 1TB or more may be more convenient.
You should also compare the drive’s reliability, warranty, performance, and power consumption. A high-end SSD is not always necessary for a thin-and-light laptop.
Step 4: Back Up Your Important Files
Before changing any hardware, make a complete backup of your important files.
You can copy documents, photos, videos, and other personal data to an external drive or a trusted cloud storage service. If you want to preserve your existing Windows installation, applications, and settings, consider cloning your current SSD to the new drive.
Cloning creates a copy of your existing drive, allowing you to transfer your operating system and files to the replacement SSD. However, the process depends on your hardware and software, and you may need an external SSD enclosure or adapter.
If you plan to clone your drive, make sure the new SSD has enough usable capacity for the data being transferred. A larger replacement drive is generally easier to work with than one that has less usable space than your existing drive’s occupied data.
Also, save your BitLocker recovery key if device encryption is enabled. A hardware change or recovery event may trigger a request for that key.
Step 5: Gather the Necessary Tools
Before opening your laptop, prepare a compatible replacement SSD and the tools recommended for your model.
You will commonly need a small precision screwdriver and a plastic opening tool. Some models use clips or screws in particular locations, so the hardware maintenance manual should guide you through the correct procedure.
Work on a clean, dry surface and keep track of every screw you remove. Avoid using excessive force when removing the bottom cover because thin laptop panels and clips can break easily.
If your laptop is still under warranty, review Lenovo’s warranty terms and service instructions before performing the upgrade yourself.
Step 6: Shut Down and Open the Laptop Safely
Save your work, shut down Windows completely, and disconnect the charger and all connected accessories.
Follow the manufacturer’s instructions for disabling the internal battery before handling the SSD. If the manual requires disconnecting the battery, do so carefully and only after opening the laptop as directed.
Use appropriate precautions against static electricity, and avoid touching the SSD’s electrical contacts.
Locate the existing storage drive using the maintenance manual. Remove its retaining screw or bracket, if present, and gently slide the drive out of its connector. Do not pull it straight upward if it is still seated in the M.2 socket.
Never force a component that does not come out easily. If the internal layout differs from the instructions, stop and verify that you have the correct maintenance guide.
Step 7: Install the New SSD
Insert the replacement SSD into the compatible connector at the angle specified by the hardware instructions. Push it in gently until it is properly seated, then lower it into position and secure it with the appropriate screw or retainer.
If the original drive uses a thermal pad or shielding, follow the manufacturer’s instructions for transferring or reinstalling those parts. Do not leave protective film on a thermal pad that must contact the drive.
Once the SSD is installed, reconnect the battery if required, reinstall the bottom cover, and secure the screws.
Reconnect the charger and start the laptop.
Step 8: Set Up Windows and Check the New Drive
What happens next depends on whether you cloned the original drive or installed a blank SSD.
If you cloned the drive successfully, Windows may start just as it did before, although you should confirm that the new storage capacity is recognized.
If you installed a blank drive, you may need to install Windows using appropriate installation media. Depending on the model, you might also need to check the boot settings and install necessary drivers.
After Windows starts, open Disk Management to see whether the drive is recognized and whether its capacity is available. If you cloned to a larger SSD, the additional space may appear as unallocated until you extend the existing partition.
Finally, check Device Manager and run a basic system check to confirm that everything works properly.
Faqs
Can I upgrade my Lenovo Yoga from 256GB to 1TB?
Yes, if your exact Lenovo Yoga model supports a replaceable SSD with a compatible 1TB drive. Check the official specifications and maintenance manual before purchasing one.
Can I upgrade my Lenovo Yoga SSD without reinstalling Windows?
Yes. You can often clone your existing SSD to the new drive. This can preserve Windows, installed applications, and personal files, provided the cloning process completes successfully.
Will upgrading my SSD make my Lenovo Yoga faster?
An SSD upgrade can improve performance if your current drive is slow, failing, or nearly full. However, if your laptop already has a fast NVMe SSD, replacing it with a newer drive may produce only modest improvements in everyday tasks.
Can I install a 2TB SSD in my Lenovo Yoga?
Possibly. Capacity support varies by model, so check Lenovo’s official specifications and compatibility information before buying a 2TB drive.
Is it safe to upgrade the SSD myself?
It can be safe if the SSD is replaceable and you follow the correct maintenance instructions. However, opening a thin laptop requires care. If you are unsure about disconnecting the battery or removing the bottom cover, consider using a qualified technician.
Will upgrading the SSD delete my files?
Replacing the drive can make the files on your original SSD inaccessible from the new installation unless you transfer them. Back up your files before starting, and keep the original drive unchanged until you have verified that your new setup works.
What if my Lenovo Yoga has soldered storage?
If the storage is soldered directly to the motherboard, you generally cannot replace it like a removable M.2 SSD. You may need to use external storage or another supported option instead.