
Upgrading RAM on an HP laptop can be a practical way to improve multitasking and reduce slowdowns, especially if your computer has limited memory. However, compatibility comes first. You need to verify that your exact laptop model supports a RAM upgrade and identify the correct memory specifications before purchasing a module.
In this guide, you will learn how to check your HP laptop’s RAM compatibility, choose the correct memory, open the laptop safely, install the new RAM, and verify that Windows recognizes it.
Upgrade RAM on HP Laptop [Correct Steps]
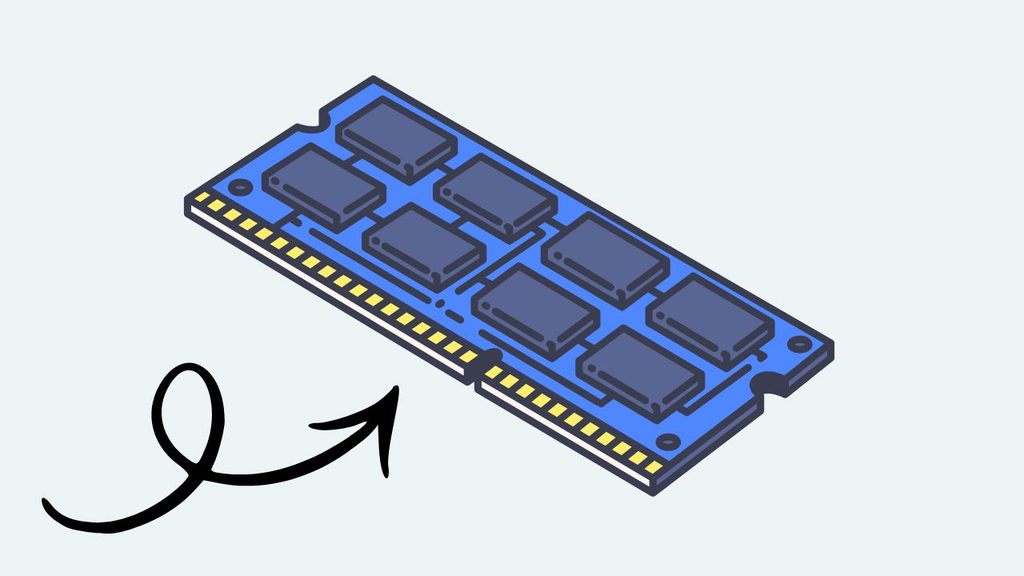
To upgrade RAM on an HP laptop, follow these steps:
- Check your HP laptop’s model number and maximum supported RAM.
- Confirm the RAM type, speed, capacity, and available memory slots.
- Purchase a compatible RAM module.
- Shut down the laptop, unplug the charger, and disconnect external devices.
- Open the laptop’s bottom cover according to its service instructions.
- Disconnect the internal battery before handling the memory.
- Remove the existing RAM if necessary and install the compatible module.
- Reassemble the laptop and turn it on.
- Check the installed memory in Windows and run a memory test if needed.
Important: Not every HP laptop has upgradeable RAM. Confirm your exact model’s service documentation before opening the device.
Step 1: Check Your HP Laptop Model Number
The first step is identifying your laptop’s exact model. HP sells many laptops under product families such as Pavilion, Envy, Victus, ProBook, EliteBook, and Spectre. However, two laptops from the same family may have different memory configurations.
Press Windows + R, type msinfo32, and press Enter. The System Information window will open. Look for System Manufacturer, System Model, and Installed Physical Memory (RAM).
You can also check the product label on the bottom of your laptop or find the model information in the HP Support Assistant application, if available.
Write down the complete model name or product number. Visit HP’s official support website and search for the device’s maintenance and service guide. This document can tell you whether the memory is replaceable, how many slots are available, and what specifications are supported.
Navigation: Windows + R > msinfo32 > System Model.
Do not purchase RAM based only on the HP brand or laptop series. The exact model determines which memory upgrades will work.
Step 2: Check RAM Compatibility and Available Slots
Before buying RAM, determine the maximum supported memory, the existing configuration, and the type of module your laptop accepts.
Most recent laptops use DDR4 or DDR5 SO-DIMM memory, but the correct generation depends on the motherboard and processor platform. DDR4 and DDR5 modules are not interchangeable because they use different electrical specifications and physical notches.
Check your existing memory capacity in Settings > System > About in Windows 11. In Windows 10, open Settings > System > About. For more details, open Task Manager using Ctrl + Shift + Esc, select Performance > Memory, and review the reported capacity, speed, and slot information when available.
However, Windows may not provide every compatibility detail. Use the HP service guide or an appropriate memory compatibility tool to confirm the supported RAM type and capacity.
For example, your laptop might have 8 GB of RAM in one slot and an empty second slot. Another model may have 8 GB soldered to the motherboard with no upgradeable slot. Some models allow memory replacement but have a lower maximum capacity than similar-looking laptops.
Check the exact specifications before proceeding. If the RAM is soldered and the service guide does not identify a replaceable memory slot, you generally cannot upgrade it using a standard RAM module.
Step 3: Choose the Correct RAM Module
Once you know your laptop’s memory requirements, select a compatible RAM module.
Pay attention to memory generation, capacity, speed, form factor, and voltage specifications. The module must match the requirements of your laptop. A physically similar module is not necessarily compatible.
For example, if your HP laptop supports DDR4 SO-DIMM memory, a DDR5 desktop DIMM will not work. Desktop memory is physically larger, and different DDR generations use different connector designs.
You should also decide how much RAM you need. 8 GB may be sufficient for everyday browsing and basic office work, while 16 GB generally provides more room for multitasking. 32 GB or more may be useful for demanding workloads, provided your particular model supports that capacity.
If your laptop has two memory slots, installing matched modules can help enable dual-channel memory operation when supported by the platform. This can improve memory bandwidth in suitable workloads.
Before ordering, confirm the module’s compatibility with your laptop rather than assuming that matching capacity alone is enough.
Step 4: Prepare Your HP Laptop for the Upgrade
Before opening your laptop, save your work and shut down Windows completely. Do not attempt to install RAM while the computer is running or in Sleep mode.
Disconnect the charger, USB devices, external monitors, memory cards, and other accessories. Place the laptop on a clean, flat, stable surface with enough lighting to see the screws and internal components.
If your HP laptop has an externally removable battery, remove it according to the manufacturer’s instructions. If the battery is internal, you will need to access it through the bottom cover and disconnect it according to the service guide.
Touch a grounded metal surface before handling internal components, or use an appropriate anti-static wrist strap. Electrostatic discharge can damage sensitive electronics even when you cannot feel a shock.
Gather the correct screwdriver and any other tools specified in the service guide. Avoid metal tools that could scratch the motherboard or damage connectors.
Safety tip: If the battery is swollen, damaged, or unusually hot, stop the upgrade and have the laptop serviced professionally.
Step 5: Remove the Laptop’s Bottom Cover
Turn the laptop over and locate the screws securing the bottom panel. Their number and placement vary by model. Some HP laptops also have hidden screws beneath rubber feet or decorative strips, so consult the service guide before removing anything.
Use the correct screwdriver to remove the screws carefully. Keep them organized because different screw locations may use different lengths.
Once the screws are removed, release the bottom cover using the recommended plastic opening tool. Work slowly around the edges instead of pulling the panel up with force.
Some models use clips that can break if the cover is twisted or lifted incorrectly. If the panel does not release easily, check for remaining screws or a different opening procedure in the service documentation.
After removing the cover, identify the RAM slots. Memory modules are usually small, narrow circuit boards installed in slots on the motherboard. Their location can vary, and some laptops place the memory beneath shielding or other components.
Do not remove unrelated components just to reach the RAM unless the manufacturer’s instructions specifically require it.
Step 6: Disconnect the Internal Battery
If your HP laptop has an internal battery, disconnect it before touching the RAM. This reduces the risk of accidental electrical shorts while working inside the computer.
Locate the battery connector using the service guide. Carefully release it according to the connector design. Do not pull on the wires or pry against the motherboard.
Some HP models have a dedicated battery-disconnect procedure, so follow the instructions for your exact device.
After disconnecting the battery, wait briefly and make sure the laptop is not connected to external power. Avoid touching exposed motherboard contacts, chips, or connector pins.
If you cannot identify the battery connector confidently, stop and consult a qualified technician. Disconnecting the wrong component can damage the laptop.
Step 7: Remove the Existing RAM and Install the New Module
If you are replacing existing RAM, locate the small retaining clips on both sides of the memory module. Gently spread the clips outward. The module should tilt upward at an angle.
Hold the RAM by its edges and slide it out of the slot without touching the gold contacts.
To install the new module, align the notch in the RAM with the key in the memory slot. Insert the module at the angle specified by the service guide, commonly around 30 degrees for a SO-DIMM slot.
Push it into the connector firmly and evenly. Once fully inserted, press the raised edge downward until the retaining clips lock into place.
If you are adding RAM to an empty slot, use the same insertion procedure. Make sure the module is fully seated and held securely by the clips.
Never force the RAM into the slot. If the notch does not line up or the module refuses to enter, check that you have the correct memory type and orientation.
Step 8: Reconnect the Battery and Reassemble the Laptop
After installing the memory, inspect the area to ensure the RAM is properly seated and no cables have been disturbed.
Reconnect the internal battery using the manufacturer’s instructions. Position the bottom cover carefully and press around the edges until the clips engage.
Reinstall the screws in their original locations. Avoid overtightening them because excessive pressure can damage the case or threads.
Reconnect the charger and any external accessories only after the laptop is fully assembled.
If you encounter a damaged connector, loose cable, or battery problem during reassembly, do not force the parts together. Resolve the issue before powering on the computer.
Step 9: Verify the New RAM in Windows
Turn on your HP laptop and allow it to start normally. The first boot after a memory change may take longer than usual while the system initializes the new configuration.
If Windows loads successfully, press Ctrl + Shift + Esc to open Task Manager. Select Performance > Memory and check the total memory capacity.
You can also open Settings > System > About and review the installed RAM information.
For example, if your laptop previously had 8 GB and you installed another compatible 8 GB module, Windows should generally report approximately 16 GB of installed memory, assuming the original module remains installed and the laptop supports the configuration.
If the expected capacity does not appear, shut down the laptop, disconnect power, and follow the service instructions to check whether the module is seated correctly.
If the laptop does not start or produces a blinking LED pattern, consult the HP support documentation for the model-specific diagnostic code. Avoid repeatedly powering on a device that appears to have an electrical problem.
Step 10: Test the RAM for Errors
After confirming that Windows recognizes the memory, run a memory test to check for potential problems.
Press Windows + R, type mdsched.exe, and press Enter. Select Restart now and check for problems after saving your work.
Windows will restart and run the Windows Memory Diagnostic tool. Allow the test to finish before using the computer again.
If the diagnostic reports memory errors, the new module may be defective, incompatible, or improperly seated. Shut down the laptop and check the installation according to the service guide.
You can also review the diagnostic results in Windows Event Viewer under Windows Logs > System, looking for entries associated with Windows Memory Diagnostic.
If errors continue after reseating the RAM, test compatible modules individually if the service guide permits it. Contact the memory seller or HP support if you suspect a defective module.
FAQs
1. Can I upgrade the RAM on every HP laptop?
No. Some HP laptops have replaceable SO-DIMM memory, while others use soldered RAM that cannot be upgraded through a standard memory slot. Check your exact model’s service guide first.
2. How much RAM can I install in my HP laptop?
The maximum depends on the laptop model, motherboard, processor platform, and memory configuration. Check HP’s specifications and service documentation instead of relying on the limits of a similar model.
3. Will upgrading RAM make my HP laptop faster?
It can improve performance when your laptop regularly runs out of available memory. You may notice smoother multitasking and fewer slowdowns when switching between applications. However, a RAM upgrade will not necessarily solve problems caused by a slow processor, overheating, malware, or a failing storage drive.
4. Can I mix different RAM capacities?
Some HP laptops support modules with different capacities, but compatibility depends on the memory controller and system configuration. Matching modules are generally a straightforward choice for dual-channel operation when supported.
5. Do I need to reinstall Windows after upgrading RAM?
No. A standard RAM upgrade does not normally require reinstalling Windows. The operating system should detect the new memory automatically after the laptop starts.
6. What should I do if my HP laptop does not turn on after the upgrade?
Disconnect the charger and follow the service guide to check the RAM seating and battery connection. If the laptop displays a diagnostic light pattern, use the model-specific HP documentation to identify it. If the problem persists, seek professional assistance.