File History is a built-in Windows backup feature that automatically saves copies of your personal files, including documents, pictures, videos, desktop files, and more. It helps protect your data by creating backup versions that you can restore whenever needed.
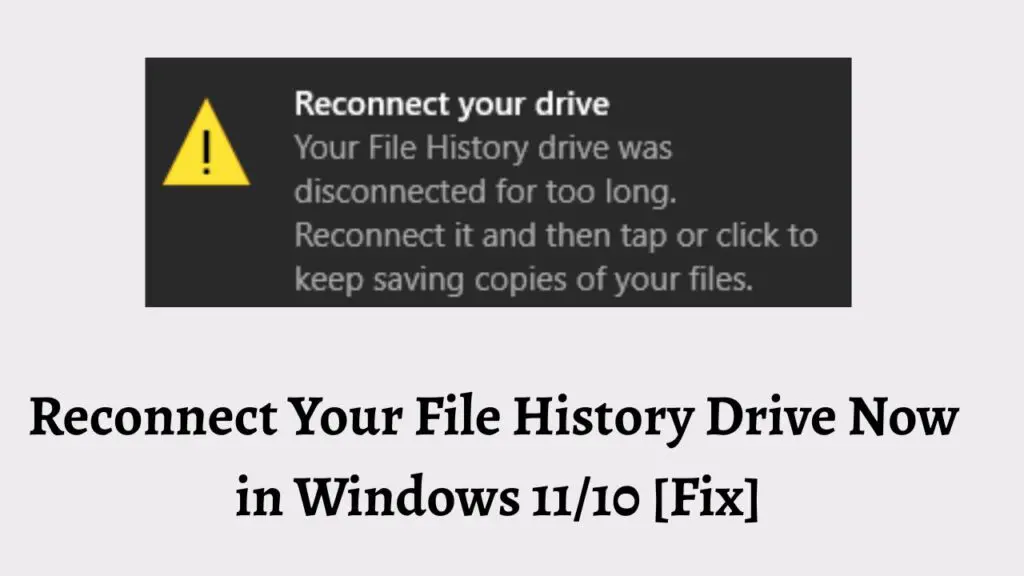
However, many Windows 11 and Windows 10 users encounter the “Reconnect your File History drive” message. This warning usually appears when Windows cannot locate the backup drive previously used for File History. The issue often occurs after disconnecting an external drive, changing a network location, upgrading Windows, or modifying system settings.
In this guide, you will learn several methods to reconnect your File History drive and restore normal backup operations.
Why Does the “Reconnect Your File History Drive” Error Appear?
Windows File History depends on a specific storage location. When that location becomes unavailable, Windows displays a warning asking you to reconnect the drive.
Common causes include:
- The external backup drive is disconnected.
- The USB cable is faulty.
- The backup drive letter has changed.
- Network backup locations are unavailable.
- Corruption is preventing access.
- Windows cannot detect the backup device.
- File History settings have become corrupted.
Once the underlying cause is identified, reconnecting the backup location becomes much easier.
Reconnect Your File History Drive Now in Windows 11/10 [Fix]
To fix the Reconnect Your File History Drive error in Windows 11 and Windows 10:
- Connect the external drive previously used for File History.
- Verify that the backup drive appears in File Explorer.
- Select the correct File History drive again in Settings or Control Panel.
- Check whether the drive letter has changed.
- Run a disk error scan on the backup drive.
- Turn File History off and then back on.
- Create a new backup location if the original drive is unavailable.
- Restart your computer and verify that backups are running successfully.
Step 1: Connect and Verify the Backup Drive
The first thing you should do is confirm that the backup drive is physically connected and recognized by Windows.
Go to File Explorer > This PC. Then look for the external hard drive, USB drive, or storage device that was previously used for File History backups.
If you can see the drive listed, double-click it and verify that it opens normally. If the drive does not appear, disconnect it and reconnect it using another USB port.
If you are using an external hard drive, ensure that its power adapter is connected properly. Some larger drives require external power and may not function correctly without it.
Once the drive appears in File Explorer, wait a few minutes. Windows may automatically reconnect File History and remove the warning message.
If the error persists, continue to the next step.
Step 2: Select the Correct File History Drive Again
Sometimes Windows detects the drive but does not automatically reconnect it to File History.
Go to Settings > System > Storage > Advanced Storage Settings > Backup Options. Then locate the File History settings.
If you are using Windows 10, go to Settings > Update & Security > Backup.
Next, select More Options and review the currently assigned backup drive. If the displayed drive is unavailable or incorrect, choose the option to select another drive.
Now choose the backup drive you connected earlier and confirm your selection.
Windows will update its File History configuration and attempt to resume scheduled backups using the selected storage location.
After completing this step, check whether the reconnect warning disappears.
Step 3: Check Whether the Drive Letter Has Changed
One of the most common causes of this issue is a changed drive letter.
For example, your backup drive may have originally been assigned drive letter E:, but Windows now assigns it F: or G:. Since File History is looking for the original location, it cannot find the drive.
Go to Start > Search > Create and Format Hard Disk Partitions. Then open the Disk Management utility.
Locate your backup drive in the list of available disks. Check the drive letter assigned to it.
If the letter differs from the one previously used, right-click the drive and select Change Drive Letter and Paths.
Then choose Change and assign the original drive letter if it is available.
After making the change, close Disk Management and restart your computer.
When Windows starts again, File History may recognize the drive correctly and resume backups.
Step 4: Run an Error Check on the Backup Drive
Drive corruption can also prevent Windows from accessing the File History location.
Go to File Explorer > This PC. Then right-click the backup drive and select Properties.
Next, open the Tools tab and select Check under the Error Checking section.
Windows will scan the drive for file system errors, bad sectors, and other issues that could interfere with backup operations.
If Windows detects any problems, follow the on-screen instructions to repair them.
Depending on the size of the drive and the severity of the issue, the scan may take several minutes to complete.
After the repair process finishes, reconnect the drive and check whether File History is functioning normally.
Step 5: Turn File History Off and On Again
Occasionally, File History settings become corrupted and need to be refreshed.
Go to Control Panel > System and Security > File History.
If File History is currently enabled, select Turn Off. Wait for a minute before proceeding. Then select Turn On to reactivate the feature.
This process refreshes File History services and forces Windows to re-establish communication with the backup drive.
Once File History is enabled again, manually start a backup and verify that files are being copied successfully.
Many users find that this simple reset resolves the reconnect error immediately.
Step 6: Reconnect a Network Backup Location
If your File History backups are stored on a network drive rather than an external drive, the issue may be related to network connectivity.
Go to File Explorer > Network. Then verify that the backup server, NAS device, or shared folder is accessible.
Try opening the shared folder manually.
If the location cannot be reached, ensure that:
- The network device is powered on.
- The computer is connected to the correct network.
- The shared folder permissions remain unchanged.
- The network path is still valid.
After confirming network access, go to Control Panel > System and Security > File History > Select Drive.
Then reconnect the network location and save the settings.
File History should now be able to resume backups normally.
Step 7: Create a New File History Backup Location
If the original backup drive is damaged, missing, or permanently unavailable, creating a new backup location may be the fastest solution.
Go to Control Panel > System and Security > File History.
Then select Select Drive.
Choose a new external drive or storage device with sufficient free space.
Next, confirm your selection and enable File History again.
Windows will create a fresh backup database and begin storing copies of your files on the new drive.
Although previous backups stored on the old drive may not be available, your future data will remain protected.
Step 8: Restart File History Services
Windows services responsible for File History may occasionally stop functioning properly.
Go to Start > Search > Services and open the Services application.
Then locate the following services:
- File History Service
- Windows Search
Double-click each service and verify that the Startup Type is set appropriately.
If a service is stopped, select Start. If it is already running, select Restart.
After restarting the services, close the window and test File History again.
This action often resolves background service issues that prevent backup operations.
Step 9: Check for Windows Updates
Outdated system files can sometimes cause backup-related problems.
Go to Settings > Windows Update.
Then select Check for Updates.
Download and install any available updates.
Microsoft regularly releases fixes for storage, backup, and system stability issues.
Once the updates are installed, restart your computer and verify whether the File History warning has been removed.
FAQs
What does “Reconnect Your File History Drive” mean?
This message indicates that Windows cannot locate the storage device or network location previously configured for File History backups.
Can I use a different drive for File History?
Yes. You can select a new external hard drive, USB drive, or network location through the File History settings.
Will I lose my files if the File History drive is disconnected?
No. Your original files remain on your computer. The warning only affects the backup process, not your actual data.
How often does File History create backups?
By default, File History automatically backs up files at scheduled intervals, although the frequency can be customized.
Is File History available in Windows 11?
Yes. File History remains available in Windows 11 and can be accessed through the Control Panel and Backup settings.
Why does the error keep returning?
The issue may return if the backup drive disconnects repeatedly, experiences hardware failure, changes drive letters, or encounters file system corruption.