
Have you ever tried opening a file, saving a document, copying data, or running an application on your Windows PC, only to receive an error saying, “There is not enough memory to complete this operation”? This message can be frustrating, especially when your computer has plenty of RAM or enough free storage space.
The good news is that this error does not always mean your computer has run out of physical memory. It can also occur because of insufficient virtual memory, corrupted system files, temporary files, background applications, or problems with the application you are trying to use.
For example, Microsoft Excel, Word, File Explorer, and other Windows applications may display this message when they cannot allocate the memory required to complete a particular task.
In this guide, I’ll walk you through several practical ways to fix the There is not enough memory to complete this operation error in Windows 11 and Windows 10.
Why Does Windows Say There Is Not Enough Memory to Complete This Operation?
Windows uses physical memory (RAM) and virtual memory to run applications and perform different operations. When an application requests memory, Windows tries to allocate the required resources to complete that task.
However, if sufficient memory is unavailable, the application may fail and display this error.
Sometimes, the problem isn’t related to RAM usage at all. A damaged application, corrupted system files, an incorrectly configured paging file, or a temporary Windows issue can also trigger the same message.
Let’s go through the solutions.
There Is Not Enough Memory to Complete This Operation
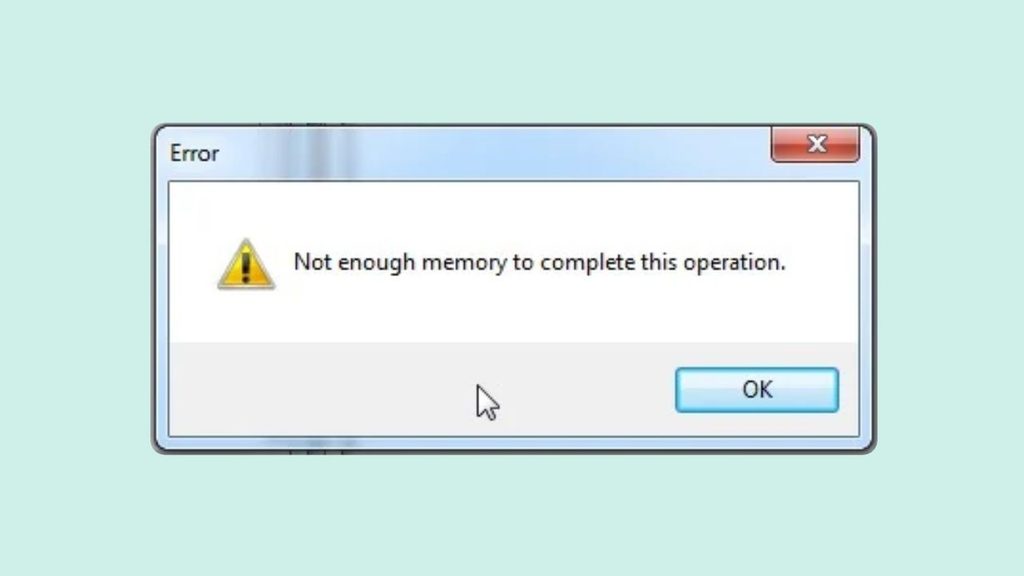
If Windows displays the There is not enough memory to complete this operation error, start by closing unnecessary applications, restarting your computer, clearing temporary files, and checking available memory. You can also increase virtual memory, repair corrupted system files, and update Windows to resolve the issue.
Try these solutions in order:
- Restart your Windows computer to release temporarily occupied memory.
- Close unnecessary applications and background processes through Task Manager.
- Delete temporary files to free up system resources.
- Increase the virtual memory or paging file size.
- Check your available RAM and storage space.
- Run System File Checker and DISM scans.
- Update Windows and the affected application.
- Perform a clean boot to identify conflicting applications.
1: Restart Your Windows Computer
The first thing I recommend is restarting your computer. It might sound like a basic solution, but it can resolve several temporary memory-related problems.
When you use your computer for an extended period, applications and background processes continue consuming system resources. Some programs may also fail to release memory properly after completing their tasks.
A restart closes running applications, refreshes system processes, and releases memory that was temporarily occupied.
To restart your PC, click the Start button, select Power, and choose Restart. Wait for Windows to shut down and boot again.
Once your desktop appears, open the application that previously displayed the error and repeat the same operation.
If the message disappears, a temporary memory or application issue was likely responsible. However, if you still see the error, move to the next solution.
2: Close Unnecessary Background Applications
Running too many applications simultaneously can put additional pressure on your system memory. This is particularly common on computers with limited RAM.
Windows Task Manager lets you identify which applications and processes are consuming the most memory.
Press Ctrl + Shift + Esc to open Task Manager. If you’re using the simplified view, click More details to access the complete interface.
Select the Processes tab and click the Memory column to arrange applications according to their memory usage.
Look for applications consuming unusually large amounts of RAM. If you’re not using a particular application, select it and click End task.
Be careful when closing processes. Avoid terminating unfamiliar Windows services or essential system processes because doing so can cause additional problems.
After closing unnecessary applications, reopen the program that displayed the memory error.
This solution is especially helpful when you’re working with large Excel spreadsheets, multiple browser tabs, video-editing software, or other resource-intensive applications.
3: Clear Temporary Files in Windows
Temporary files help Windows and applications perform certain tasks. However, these files can accumulate over time and consume valuable storage space.
Although deleting temporary files doesn’t directly increase your physical RAM, it can help resolve storage-related problems and free up space needed for Windows operations.
To clear temporary files, press Windows + I to open Settings.
Navigate to System > Storage > Temporary files. Allow Windows a few moments to scan your computer and display the available temporary files.
Review the categories carefully, including temporary files, thumbnails, delivery optimization files, and Recycle Bin contents.
Select the categories you want to remove and click Remove files.
Be particularly careful with the Downloads category because selecting it can permanently remove files stored in your Downloads folder.
After Windows finishes cleaning up, restart your computer and check whether the error has been resolved.
4: Increase Virtual Memory in Windows
If your computer frequently displays memory-related errors, increasing virtual memory is one of the most useful solutions to try.
Virtual memory uses a portion of your storage drive as an extension of physical RAM. Windows manages this through a paging file, which helps applications operate when physical memory becomes limited.
If the paging file is disabled or configured with an insufficient size, certain applications may encounter memory allocation problems.
To increase virtual memory, press Windows + R, type sysdm.cpl, and press Enter.
In the System Properties window, navigate to the Advanced tab. Under Performance, click Settings.
Select the Advanced tab again and locate the Virtual memory section. Click Change.
Uncheck Automatically manage paging file size for all drives if you want to configure the settings manually.
Select your Windows installation drive, usually C:, and choose Custom size.
Enter suitable initial and maximum sizes based on your system’s RAM, available storage, and workload. Avoid applying a fixed RAM multiplier as a universal rule because the appropriate paging file size depends on your system requirements.
Click Set, followed by OK, and restart your computer to apply the changes.
If you’re unsure about the correct values, allowing Windows to automatically manage the paging file is generally a good option.
5: Check Available RAM and Storage Space
Sometimes, the error appears because your computer doesn’t have enough available resources to complete a particular operation.
Therefore, checking your RAM usage and available storage space is worth trying.
Press Ctrl + Shift + Esc to open Task Manager and select the Performance tab.
Click Memory to view your installed RAM, current memory usage, available memory, and memory speed.
If memory usage remains consistently high, consider closing unnecessary applications or upgrading your RAM if your computer supports it.
Next, check your available storage space. Open File Explorer > This PC and look at the available space on your Windows installation drive.
If the C: drive is almost full, remove unnecessary files, uninstall applications you no longer use, or move large personal files to another storage location.
Remember that RAM and storage are different resources. Freeing up disk space won’t directly increase physical memory, but it can help Windows manage its paging file and temporary operations more effectively.
6: Run System File Checker and DISM Scans
Corrupted or missing Windows system files can interfere with normal system operations, including memory management.
Windows includes two useful command-line tools, System File Checker (SFC) and Deployment Image Servicing and Management (DISM), that can help repair these problems.
First, click Start and search for Command Prompt. Right-click it and select Run as administrator.
In the Command Prompt window, enter the following command and press Enter:
DISM /Online /Cleanup-Image /RestoreHealth
Wait for the scan to complete. This process checks the Windows component store and attempts to repair detected corruption. It may take several minutes, depending on your system.
Afterward, enter the following command:
sfc /scannow
Press Enter and allow Windows to scan protected system files. If it detects corrupted files, SFC will attempt to replace them with healthy copies.
Once both scans are complete, restart your computer.
Open the application that was displaying the error and check whether it works normally.
7: Update Windows and the Affected Application
An outdated Windows version or application can sometimes contain bugs that cause unexpected memory allocation problems.
Microsoft regularly releases updates containing security improvements, compatibility fixes, and system stability enhancements.
To check for Windows updates, press Windows + I and navigate to Windows Update.
Click Check for updates and allow Windows to search for available updates. If updates are available, download and install them.
Restart your computer if Windows requests it.
You should also update the application displaying the error. For example, if you’re experiencing this issue in Microsoft Office, open an Office application and navigate to File > Account > Update Options > Update Now.
For other applications, open their settings or help menu and look for an update option.
Once everything is updated, try performing the operation again.
8: Perform a Clean Boot
If none of the previous solutions work, a third-party application or background service might be interfering with Windows operations.
A clean boot starts Windows with a minimal set of drivers and startup programs. This helps determine whether another application is responsible for the memory error.
Press Windows + R, type msconfig, and press Enter.
In the System Configuration window, select the Services tab.
Check Hide all Microsoft services first. This is important because disabling essential Microsoft services can affect Windows functionality.
Next, click Disable all to temporarily disable the remaining listed services.
Now, open the Startup tab and click Open Task Manager.
In Task Manager, select enabled third-party startup applications and click Disable for each one.
Close Task Manager, click Apply, and select OK in System Configuration.
Restart your computer and check whether the error still appears.
If the problem disappears, a disabled application or service may be responsible. Re-enable the disabled items gradually to identify the conflicting program.
After troubleshooting, return to System Configuration and restore your normal startup settings.
FAQs
1. Why does my computer say there is not enough memory when I have RAM available?
This can happen because Windows may not have enough available virtual memory, an application may be requesting more memory than Windows can allocate, or a system process may be experiencing an issue. Available RAM alone doesn’t guarantee that every memory allocation request will succeed.
2. How do I fix the not enough memory error in Windows 11?
Start by restarting your computer and closing unnecessary applications. Next, clear temporary files, check available storage, and verify your virtual memory settings. If the problem continues, run DISM and SFC scans to repair potentially corrupted system files.
3. Can increasing virtual memory fix this error?
Yes, increasing the paging file size can help when an application needs more committed memory than your current configuration can support. However, virtual memory is slower than physical RAM, so it isn’t a complete replacement for upgrading your system memory.
4. Does low disk space cause memory errors?
It can contribute to certain memory-related problems. Windows needs sufficient disk space for temporary files, updates, and paging file operations. If your system drive is nearly full, freeing up storage space may help.
5. How much RAM do I need to avoid this error?
The required RAM depends on the applications you use. Everyday browsing and office work may run comfortably with 8 GB, while multitasking, video editing, and demanding professional applications can benefit from 16 GB or more. However, having more RAM doesn’t automatically prevent every memory allocation error.
6. Why does Microsoft Excel say there is not enough memory to complete this operation?
Excel may display this error when working with large spreadsheets, complex formulas, multiple workbooks, or memory-intensive add-ins. Close unnecessary workbooks, disable problematic add-ins, update Office, and make sure Windows has sufficient available memory and virtual memory.
Final Words
The There is not enough memory to complete this operation error in Windows 11/10 can interrupt your work, but it doesn’t necessarily mean you need to upgrade your computer.
In many cases, the problem can be resolved by restarting Windows, closing unnecessary background applications, clearing temporary files, or adjusting virtual memory settings.
If the error continues, run SFC and DISM scans, install pending updates, and perform a clean boot to identify potential software conflicts.
I recommend starting with the first three solutions before changing advanced system settings. If you’re still experiencing the issue after trying all these methods, pay close attention to which application triggers the error.