
Is your computer speaker not producing sound clearly, or are you simply checking whether your audio system is working correctly? A speaker test in Windows 11/10 can help you quickly determine whether your speakers are working as expected. It can also help you identify problems related to the selected output device, volume level, audio drivers, or Windows sound settings.
Windows includes several ways to test your speakers. You can use the Settings app, Sound Control Panel, Volume Mixer, or Device Manager, depending on what you want to check.
If you are troubleshooting a speaker problem, it is a good idea to start with the simplest test and then move to more advanced options.
In this guide, you will learn how to perform a speaker test in Windows 11/10.
How to Perform Speaker Test in Windows 11/10
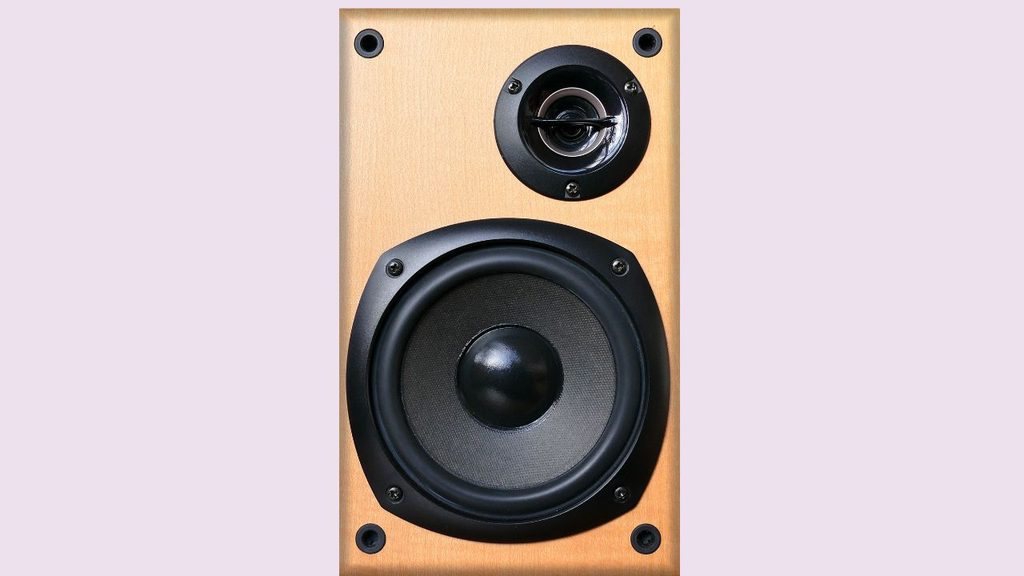
To perform a speaker test in Windows 11/10:
- Open Settings and go to System > Sound.
- Select your speaker or audio output device.
- Click Test to play a Windows test sound.
- If you are using Windows 10, open Settings > System > Sound and select Device properties.
- Use Sound Control Panel to open your speaker properties and select Test.
- Check the Volume Mixer if an individual application has no sound.
- Use Device Manager to check or update the audio device if the speaker test does not work.
There are several ways to test speakers in Windows. The first method is usually the easiest because Windows 11 provides a direct Test option for many audio output devices. If that option is unavailable or does not produce sound, you can move to the classic Sound settings.
Before starting, make sure your speakers, headphones, or external audio device are properly connected. If you are using Bluetooth speakers, confirm that they are powered on and connected to your computer.
1: Check Your Speaker Connection
Before running a Windows speaker test, check the physical connection. If you are using built-in laptop speakers, you can move directly to the next step. For external speakers, make sure the speaker cable is firmly connected to the correct audio port on your computer.
If your speakers use USB, check that the USB cable is connected properly. For Bluetooth speakers, go to Settings > Bluetooth & devices > Devices and confirm that the speaker shows as connected.
Also check the speaker’s own volume control. Some external speakers have a separate volume knob or power switch. A Windows test cannot produce audible sound if the speakers are turned off or muted.
2: Open Windows Sound Settings
On Windows 11, press Windows + I to open Settings. Go to System > Sound. Under the Output section, look for the audio devices currently available on your computer.
On Windows 10, press Windows + I, select System, and then choose Sound from the left side.
This page is important because Windows may have more than one audio output device. For example, your computer could have internal speakers, a monitor with speakers, Bluetooth headphones, and a wired headset connected at the same time.
3: Select Your Speaker
Under the Output section, select the speaker you want to test. In Windows 11, you may see the selected device listed near the top of the Sound page.
Make sure you choose the actual speakers you want to check. If you are testing laptop speakers, select the internal speaker device. If you are testing an HDMI monitor, choose the monitor’s audio output instead.
After selecting the device, check the volume level. If the volume is extremely low or muted, increase it before testing.
4: Test Your Speakers in Windows 11
Windows 11 provides a convenient way to test many supported audio devices. After selecting your speaker under Settings > System > Sound, look for the Test option in the output device settings.
Select Test. Windows should play a short test sound through the selected speaker.
If you hear the sound clearly from the correct speaker, your basic audio output is working. If you do not hear anything, check whether the correct device is selected and whether its volume is turned up.
If the test sound is distorted, unusually quiet, or coming from the wrong device, continue with the following methods.
5: Test Speakers Using Sound Control Panel
The classic Sound Control Panel provides another useful speaker-testing method. Press Windows + R, type mmsys.cpl, and press Enter.
The Sound window will open. Select the Playback tab. You should see the audio output devices available on your computer.
Select your speaker, then choose Properties. In the speaker properties window, open the Levels tab and make sure the volume is not muted or set too low.
Next, select the Advanced tab if you want to check the default audio format. After reviewing the settings, return to the Playback tab, select your speaker, and click Configure if the option is available.
From the speaker setup window, choose the appropriate audio configuration and select Test. Windows will play test sounds through the available channels.
This method is particularly useful when you want to determine whether the left and right speaker channels are working correctly.
6: Test Left and Right Speaker Channels
If you have a stereo speaker setup, Windows can help you determine whether both channels are producing sound.
Open Sound Control Panel by pressing Windows + R, entering mmsys.cpl, and pressing Enter. Select the Playback tab, choose your speakers, and select Configure.
Follow the speaker setup screen until you reach the testing option. Windows can play audio through individual channels so you can listen for output from the left and right speakers.
If one speaker works while the other does not, the issue may involve the speaker connection, balance settings, cable, audio hardware, or driver configuration.
7: Check the Volume Mixer
Sometimes your speakers are working correctly, but a particular application has been muted. This can make it seem like the speakers themselves are defective.
In Windows 11, right-click the speaker icon on the taskbar and select Open volume mixer. You can also go to Settings > System > Sound > Volume mixer.
Check the volume level for the application you are using. Make sure the application is not muted and that it is assigned to the correct Output device.
For example, your system sound may be working while a web browser is sending audio to a different device. Checking the Volume Mixer can quickly reveal this problem.
8: Check the Speaker Balance
If sound is noticeably louder from one speaker, check the balance settings. Open Settings > System > Sound, select your output device, and look for the available channel or balance controls.
Make sure the left and right channels have appropriate levels. If one channel is set extremely low or completely muted, you may hear sound from only one side.
This is especially useful when testing headphones, stereo speakers, and external audio systems.
9: Check the Audio Device in Device Manager
If Windows cannot play the speaker test sound, the audio device or its driver may need attention.
Right-click the Start button and select Device Manager. Expand Sound, video and game controllers. Look for your audio device.
Right-click the audio device and select Properties. Check the Device status section for any reported problems.
You can also right-click the device and choose Update driver. If Windows finds an appropriate driver, follow the instructions to install it.
Avoid randomly removing audio devices unless you are specifically troubleshooting a driver issue. If you uninstall an audio device, Windows may need to reinstall or rediscover it before sound works again.
10: Run the Windows Audio Troubleshooter
Windows also provides troubleshooting tools that can automatically check common sound problems.
On Windows 11, go to Settings > System > Troubleshoot > Other troubleshooters and look for the available Audio troubleshooting option.
On Windows 10, go to Settings > Update & Security > Troubleshoot > Additional troubleshooters and select the available Playing Audio troubleshooter.
Follow the instructions displayed by Windows. The troubleshooter may identify an incorrect output device, disabled audio service, muted setting, or another common configuration problem.
11: Test the Speakers With Another Application
If the Windows test sound works but a particular application has no audio, the problem may not be related to your speakers.
Open another application that produces sound, such as a media player or web browser. Play an audio file and listen carefully.
If sound works everywhere except one application, check that application’s audio settings, volume controls, and selected output device.
If no applications produce sound, return to Settings > System > Sound and verify the selected output device and volume level.
12: Restart the Windows Audio System
A temporary Windows audio service problem can sometimes prevent speakers from producing sound.
Press Windows + R, type services.msc, and press Enter. Find Windows Audio in the list.
Right-click Windows Audio and select Restart. You can also check the service properties to confirm that it is configured to start normally.
After restarting the audio service, return to Settings > System > Sound and perform the speaker test again.
Faqs
How do I test my speakers in Windows 11?
Go to Settings > System > Sound, select your speaker under Output, and choose Test when the option is available. Windows should play a test sound through the selected device.
How do I test speakers in Windows 10?
Open Settings > System > Sound, select your output device, and check its device properties. You can also press Windows + R, enter mmsys.cpl, open the Playback tab, select your speakers, and use Configure > Test.
Why does the Windows speaker test make no sound?
The most common causes include a muted volume level, incorrect output device, disconnected speakers, Bluetooth connection problems, disabled audio hardware, or an audio driver problem.
How can I test whether both speakers are working?
Open Sound Control Panel with Windows + R > mmsys.cpl, select the Playback tab, choose your speakers, and select Configure. Use the test option to check the available speaker channels.
Why does only one speaker work?
Check the left and right balance, speaker cables, audio connections, and driver settings. If one channel remains silent, test the speakers with another device to determine whether the issue is with Windows or the speaker hardware.
Can I test speakers without playing a YouTube video?
Yes. You do not need YouTube or another website. Windows provides its own speaker test through Sound settings and the classic Sound Control Panel.
What should I do if Windows does not detect my speakers?
Check the physical connection first. Then open Settings > System > Sound and check the available output devices. If the device still does not appear, open Device Manager and check Sound, video and game controllers for the audio hardware.
Bottom Lines
Performing a speaker test in Windows 11/10 is a straightforward way to determine whether your computer’s audio output is working properly. Start with Settings > System > Sound and test the selected output device. If that does not solve the problem, use Sound Control Panel, Volume Mixer, Device Manager, and Windows’ audio troubleshooting tools.
For most beginners, the key is to check one thing at a time. First confirm that the correct speaker is selected, then check the volume, connection, balance, and driver.
If the Windows test sound works but a particular application remains silent, focus on that application’s audio settings instead of replacing or changing your speakers.