
PowerShell is a powerful command-line tool in Windows 11 and Windows 10 that lets you manage files, navigate folders, run commands, and automate everyday tasks. Whether you’re troubleshooting a Windows issue or working with scripts, knowing how to move between folders is one of the first skills you’ll need.
Changing directories in PowerShell is straightforward once you understand a few basic commands. You can move to a specific folder, switch between drives, navigate to the parent directory, open a folder using its full path, or return to your user directory. You can also use tab completion to save time when entering folder names.
In this guide, we’ll explain how to change directories in PowerShell step by step.
Let’s get started.
How to Change Directory in PowerShell?
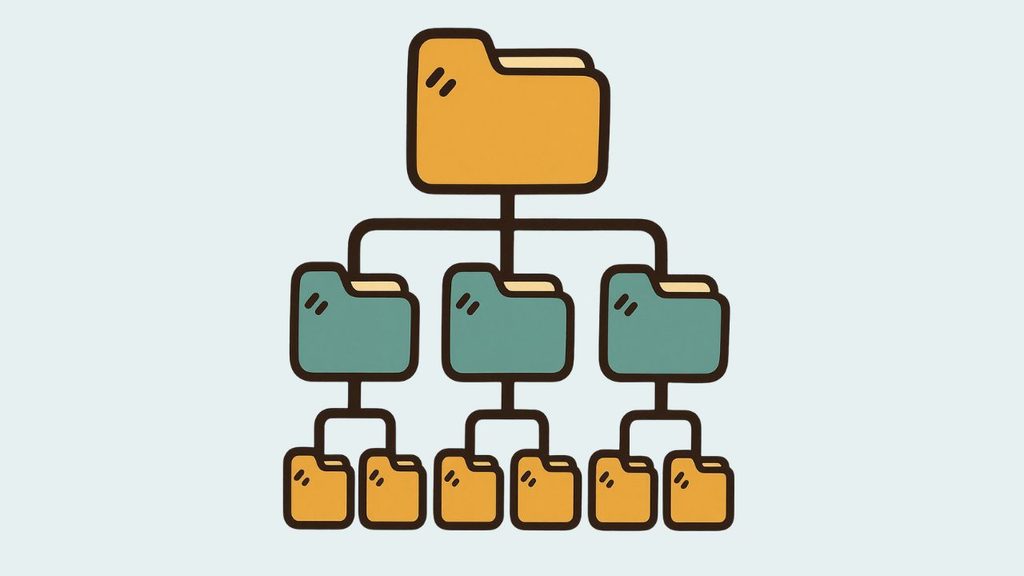
To change a directory in PowerShell, follow these steps:
- Open PowerShell from the Windows Start menu or Windows Terminal.
- Type Get-Location and press Enter to check your current directory.
- Enter Set-Location “C:\Users” or use the shortcut cd “C:\Users” to navigate to a different folder.
- Replace the example path with the destination folder you want to open.
- Press Enter and run Get-Location again to verify the change.
You can also use cd .. to move up one directory, cd \ to navigate to the root of the current drive, and cd ~ to return to your user profile directory.
Step 1: Open PowerShell
Before changing directories, you need to open PowerShell. On Windows 11, right-click the Start button and select Terminal. PowerShell usually opens as the default shell, but you can select a PowerShell tab if another command-line environment appears.
Alternatively, open the Start menu, type PowerShell, and select Windows PowerShell or PowerShell from the search results. You don’t need administrator privileges to navigate between ordinary folders, so a standard PowerShell session is enough for most tasks.
Once the window opens, you’ll see a command prompt showing your current location. It might look something like PS C:\Users\YourName>. The path displayed after PS indicates the directory you’re currently working in.
Navigation path: Start > Search PowerShell > Open PowerShell > View the current prompt
Step 2: Check Your Current Directory
It’s helpful to know your current location before moving to another folder. PowerShell provides the Get-Location command for this purpose.
Type the following command and press Enter:
Get-Location
PowerShell will display your current path. For example, if you’re working in your user profile folder, the output might show C:\Users\YourName.
You can also use the shorter pwd command, which serves as an alias for Get-Location. Both commands help you confirm where PowerShell is currently working.
This step is particularly useful when you’re running scripts, managing files, or following instructions that require you to start from a specific directory. Checking the path first can prevent you from accidentally working in the wrong folder.
Navigation path: PowerShell prompt > Enter Get-Location > Press Enter > Review the displayed path
Step 3: Change Directory Using the CD Command
The easiest way to change directories in PowerShell is to use the cd command. It is an alias for Set-Location, which changes your current working location.
For example, suppose you want to move to the Windows folder on your C: drive. Enter:
cd C:\Windows
Press Enter, and PowerShell will switch to that directory. Your prompt should now display a path similar to PS C:\Windows>.
You can use the same command to navigate to other folders. For example, cd C:\Users takes you to the Users folder, while cd C:\Program Files takes you to the Program Files folder.
When a folder name contains spaces, enclose the complete path in quotation marks. For example, use cd “C:\Program Files” to avoid problems with spaces in the directory name.
Remember that the destination folder must exist. If you enter an incorrect path, PowerShell will return an error instead of changing directories.
Navigation path: PowerShell prompt > Enter cd C:\Windows > Press Enter > Confirm the new path
Step 4: Use Set-Location to Change Directories
If you prefer the full command instead of its shortcut, use Set-Location. It performs the same directory-navigation task as cd.
For example, enter:
Set-Location “C:\Users\Public\Documents”
Press Enter to move to the Documents folder inside the Public user profile.
The main advantage of Set-Location is readability. When you’re creating PowerShell scripts or sharing commands with other users, the full command name can make your intentions clearer.
You can also use a relative path when the destination is inside your current directory. Suppose you’re currently in C:\Users\Public and want to open its Documents folder. Enter:
Set-Location Documents
PowerShell will navigate to C:\Users\Public\Documents, provided that folder exists.
Navigation path: PowerShell prompt > Enter Set-Location “C:\Users\Public\Documents” > Press Enter > Verify the destination
Step 5: Move to the Parent Directory
Sometimes, you may need to move up one level rather than enter a completely new path. PowerShell makes this easy with the .. notation.
Enter the following command:
cd ..
Press Enter, and PowerShell will move to the parent directory of your current folder.
For example, if your current location is C:\Users\Public\Documents, running cd .. takes you to C:\Users\Public. Running the same command again takes you to C:\Users.
You can also move up multiple levels in one command. For instance:
cd ..\..
This moves you up two directory levels, assuming the path contains at least two parent levels.
This method is useful when you’re navigating nested folders and don’t want to type the entire destination path.
Navigation path: Current directory > Enter cd .. > Press Enter > Check the parent directory
The root directory is the top-level directory of a drive. On your C: drive, it is represented by C:\.
To navigate to the root of your current drive, enter:
cd \
PowerShell will move to the root directory of the drive associated with your current location.
For example, if you’re currently working in C:\Users\Public\Documents, the command takes you directly to C:\.
If you want to navigate to the root of a specific drive, enter its full path:
Set-Location C:\
This is particularly useful when you want to start navigating from the top of a drive instead of working through several nested folders.
Navigation path: PowerShell prompt > Enter cd \ > Press Enter > Confirm the drive’s root directory
Step 7: Change to Another Drive
Switching between drives in PowerShell works differently from how it does in the traditional Command Prompt. PowerShell maintains a current location for each drive, so simply typing a drive letter followed by a colon may not always produce the navigation behavior you expect.
To switch to the root of your D: drive, use:
Set-Location D:\
Alternatively, enter:
cd D:\
Press Enter, and PowerShell will navigate to the root of the D: drive, provided that the drive is available.
If you want to open a particular folder on that drive, specify its complete path:
cd D:\Projects
Replace Projects with the name of the folder you want to access.
If Windows reports that the drive or path cannot be found, confirm that the drive is connected and that the destination folder exists.
Navigation path: PowerShell prompt > Enter cd D:\ > Press Enter > Navigate to the required folder
Your user profile directory contains personal folders and settings associated with your Windows account. Instead of typing the full profile path, you can use the tilde character (~) in PowerShell.
To navigate to your user profile, enter:
cd ~
Press Enter, and PowerShell will take you to your profile directory, typically located at C:\Users\YourName.
You can also navigate directly to a subfolder using a relative path. For example:
cd ~/Documents
This command takes you to the Documents folder inside your user profile, provided that the folder exists at that location.
This shortcut is convenient when working with personal files, scripts, downloads, or other resources stored under your Windows account.
Navigation path: PowerShell prompt > Enter cd ~ > Press Enter > Access your user profile directory
Change Directories Using Tab Completion
Typing long folder paths can be time-consuming, especially when directory names contain spaces or multiple levels. PowerShell’s Tab completion feature helps you enter paths with fewer keystrokes.
Start by typing a partial path. For example:
cd C:\Pro
Press the Tab key to cycle through matching folder names. If PowerShell completes the path to C:\Program Files, press Enter to run the command.
If several folders match your entry, keep pressing Tab until the correct folder appears. Depending on your PowerShell configuration, you may also be able to view matching options.
Tab completion reduces typing errors and makes it easier to work with lengthy directory names. However, always review the completed path before pressing Enter, especially when multiple folders have similar names.
Navigation path: Type a partial directory path > Press Tab > Review the completed path > Press Enter
If PowerShell refuses to change directories, the problem usually involves an incorrect path, a missing folder, or a drive that isn’t available.
First, check your spelling and confirm that the destination folder exists. For example, if cd C:\Projects returns an error, verify that the Projects folder is actually located at the root of the C: drive.
Second, use quotation marks around paths containing spaces. Enter cd “C:\Program Files” rather than typing the path without quotes.
Third, confirm that you’re using the correct drive letter. An external drive may use a different letter depending on which devices are connected.
Finally, check your current location with Get-Location and inspect the destination directory with Get-ChildItem when necessary. These commands help you understand where you are and which files or folders are available.
Navigation path: Review the error > Check the path and spelling > Confirm the drive > Retry the command
FAQs
What is the command to change directories in PowerShell?
The standard command is Set-Location, and cd is its shorter alias. For example, cd C:\Windows changes your current location to the Windows folder on the C: drive.
How do I go back one directory in PowerShell?
Enter cd .. and press Enter. PowerShell will move to the parent directory of your current location.
How do I switch from C: to D: in PowerShell?
Enter cd D:\ and press Enter. This changes your current location to the root of the D: drive, provided that the drive is available.
How do I change directories when the folder name contains spaces?
Place the complete path inside quotation marks. For example, enter cd “C:\Program Files” to navigate to the Program Files folder.
How do I return to my home directory in PowerShell?
Use cd ~ to navigate to your user profile directory. This shortcut is useful when you need to return to your account’s main folder from another location.
Why does PowerShell say that the path cannot be found?
This error usually means the destination path is incorrect, the folder does not exist, or the specified drive is unavailable. Check the path carefully and verify the folder’s location before running the command again.
Is cd the same as Set-Location in PowerShell?
Yes. cd is an alias for Set-Location, so both commands change the current working location. You can use either one according to your preference.
Can I change directories in PowerShell without typing the full path?
Yes. You can use relative paths, such as cd Documents, when the folder is inside your current directory. You can also use cd .. to move up one level, cd ~ to open your user profile, and Tab completion to finish folder names.
Final Words
Changing directories in PowerShell is a basic skill that makes working with Windows files, folders, and scripts much easier. Once you understand the cd and Set-Location commands, you can move between folders, switch drives, access your user profile, and navigate complex directory structures without relying on File Explorer.
For everyday navigation, start with cd C:\FolderName, use cd .. to move up one level, and enter cd ~ when you want to return to your user profile. Remember to use quotation marks for paths containing spaces and verify the destination when a command fails.
With a little practice, these commands will become second nature, helping you work more efficiently in PowerShell on Windows 11 and Windows 10.