Running into the message “We Couldn’t Connect to the Update Services” can feel frustrating, especially when you’re just trying to keep your system secure and up to date. This issue typically appears in Windows Update, preventing your device from downloading and installing essential updates.
In this guide, we’ll walk through practical solutions so you can get your system back on track without unnecessary stress.
Let’s get started!
We Couldn’t Connect to the Update Services [How to Fix]
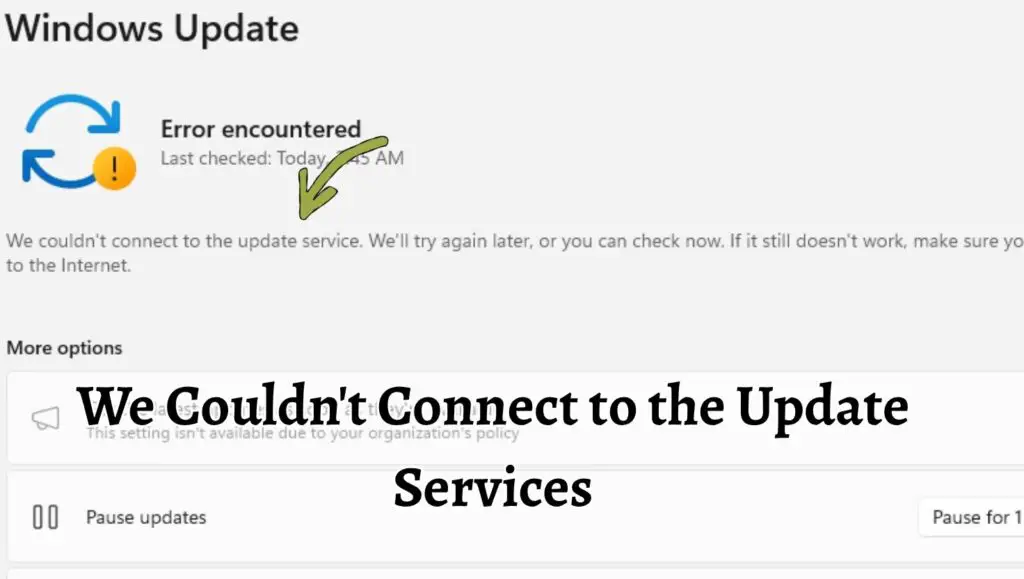
This error usually occurs when your system fails to communicate with Microsoft’s update servers. It can happen due to issues like unstable internet connections, incorrect system settings, disabled services, or software conflicts.
The key to fixing it is understanding that Windows Update relies on several background services and configurations working together. If even one component fails, the entire update process can break.
Let’s start with some quick fixes before moving into deeper troubleshooting steps.
Restart your computer and check your internet connection to ensure stability. Open Settings, go to “Windows Update,” and click “Check for updates.” If the issue persists, restart the Windows Update service, run the built-in troubleshooter, and reset update components. Disabling VPN or proxy settings may also resolve the problem.
Now, let’s go with the detailed steps!
Step 1: Check Your Internet Connection and Restart Your System
Before diving into complex fixes, start with the basics. A weak or unstable internet connection is one of the most common causes of this error.
Make sure your device is properly connected to the internet. Try opening a website or streaming a video to confirm connectivity. If the connection feels slow or unreliable, restart your router and modem. Give it a minute or two before reconnecting.
After that, restart your computer. This simple action can clear temporary glitches in the system and refresh background services. Sometimes, Windows Update just needs a fresh start to reconnect properly.
Step 2: Run the Built-in Windows Update Troubleshooter
Windows includes a built-in tool specifically designed to detect and fix update-related problems.
Open “Settings” and navigate to “System,” then select “Troubleshoot” and click on “Other troubleshooters.” Find the “Windows Update troubleshooter” and run it.
The troubleshooter will automatically scan for issues like corrupted update files, misconfigured services, or missing components. If it detects a problem, it will attempt to fix it for you.
This step is especially useful because it targets common issues without requiring manual intervention.
Step 3: Restart Windows Update Services
The update process depends on several background services running correctly. If any of these services are stopped or stuck, you might see a connection error.
Press “Windows + R,” type “services.msc,” and hit Enter. In the list of services, locate the following:
“Windows Update”
“Background Intelligent Transfer Service”
“Cryptographic Services”
Right-click each one and select “Restart.” If any service is not running, start it manually.
Restarting these services helps restore communication between your system and the update servers.
Step 4: Disable VPN or Proxy Settings
If you are using a VPN or proxy server, it might interfere with Windows Update by blocking or redirecting connections.
Go to “Settings,” then “Network and Internet,” and open the “Proxy” section. Turn off any proxy settings if they are enabled.
If you are using a VPN, temporarily disconnect it and try checking for updates again.
These tools are useful for privacy, but they can sometimes prevent your system from connecting to official update servers.
Step 5: Reset Windows Update Components
If the issue persists, resetting the update components can be very effective. This process clears old update files and resets related services.
Open Command Prompt as an administrator and stop the update services by typing commands like stopping “wuauserv” and “bits.” Then, rename the “SoftwareDistribution” and “Catroot2” folders, which store update data.
After that, restart the services.
This essentially gives Windows Update a clean slate, allowing it to reconnect and download updates without interference from corrupted files.
Step 6: Check Date and Time Settings
An incorrect system date and time can cause authentication issues with update servers.
Right-click on the clock in the taskbar and select “Adjust date and time.” Make sure the options for “Set time automatically” and “Set time zone automatically” are turned on.
If your system clock is even slightly off, it can prevent secure connections from being established.
Step 7: Scan for Corrupted System Files
Corrupted system files can disrupt many Windows functions, including updates.
Open Command Prompt as an administrator and run the “System File Checker” by typing the command “sfc /scannow.”
This tool scans your system for corrupted files and repairs them automatically. It may take some time, so be patient while it completes.
Once done, restart your system and try updating again.
Step 8: Use DISM Tool for Deeper Repair
If the previous scan did not fix the issue, you can use the “Deployment Image Servicing and Management” tool.
Open Command Prompt as an administrator and run the command “DISM /Online /Cleanup Image /RestoreHealth.”
This tool repairs the underlying Windows image, which can resolve deeper issues affecting updates.
After the process completes, restart your computer and check for updates again.
Step 9: Temporarily Disable Antivirus or Firewall
Sometimes, third-party antivirus software or firewall settings can block Windows Update.
Temporarily disable your antivirus and firewall, then try checking for updates again.
If this resolves the issue, you may need to adjust your security software settings to allow Windows Update connections.
Be sure to turn your protection back on after testing.
Step 10: Check Group Policy Settings
In some cases, system policies may restrict updates, especially on work or shared computers.
Press “Windows + R,” type “gpedit.msc,” and navigate to the Windows Update policies.
Look for settings that might disable updates or redirect them to a different server. Set them to default or “Not Configured” if needed.
This step is more advanced but can be crucial in certain environments.
Step 11: Perform a Network Reset
If network configurations are causing the issue, resetting them can help.
Go to “Settings,” then “Network and Internet,” and choose “Advanced network settings.” Select “Network reset.”
This will remove and reinstall all network adapters and reset settings to the default. You will need to reconnect to your WiFi afterward.
Step 12: Try Updating Manually
If all else fails, you can manually download updates.
Visit the official Microsoft Update Catalog website and search for the latest update based on your system version. Download and install it manually.
This bypasses the automatic update system and can help you stay up to date even if the error persists.
Faqs
What causes the “We Couldn’t Connect to the Update Services” error?
This error is usually caused by network issues, disabled update services, corrupted system files, or interference from VPNs or antivirus software.
Can this issue fix itself?
Sometimes yes. Temporary server issues or connectivity problems may resolve on their own after a restart or some time.
Is it safe to reset Windows Update components?
Yes, it is safe. This process only clears cached update data and resets services without affecting personal files.
Will disabling antivirus software harm my system?
Temporarily disabling it for troubleshooting is generally safe, as long as you enable it again afterward.
Do I need technical knowledge to fix this issue?
Not necessarily. Most steps are beginner-friendly, especially if you follow them carefully.