If you use a Canon printer with your Windows 11 PC, you already know that printing is just one part of the experience. Managing ink levels, running maintenance, troubleshooting errors, and adjusting print settings are equally important. That is where the Canon Printer Assistant Tool becomes useful.
The Canon Printer Assistant Tool is a utility that works alongside your printer driver. It helps you access maintenance options, check printer status, clean print heads, align cartridges, and monitor ink levels directly from your computer. Instead of navigating through complex control panel menus, you get a centralized interface designed for convenience.
In this guide, you will learn exactly how to install and use the Canon Printer Assistant Tool step by step, and how to make the most of it once it is set up. By the end, you will not only have it installed but also know how to use it confidently.
Now, let us begin with the installation process.
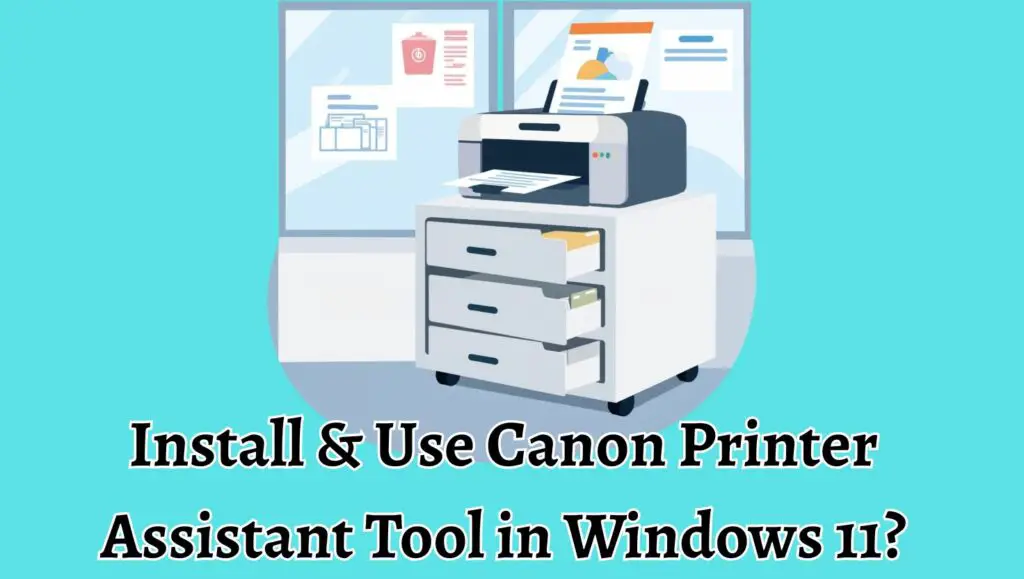
How to Install & Use Canon Printer Assistant Tool in Windows 11?
Step 1: Check Printer Compatibility and Model Details
Before installing anything, confirm your exact Canon printer model number. You can find it on the front panel of the printer or on the sticker at the back. This detail is important because Canon provides model-specific drivers and utilities.
Visit the official website of Canon and navigate to the Support section. Enter your printer model in the search box and confirm that Windows 11 is listed as a supported operating system.
Why does this matter? Because installing the wrong driver package may prevent the Printer Assistant Tool from appearing. Once you verify compatibility, you are ready to download the correct files. This small verification step ensures the rest of the process goes smoothly.
Step 2: Download the Correct Printer Driver Package
The Canon Printer Assistant Tool is usually bundled with the full printer driver package. It does not always come as a separate download.
On the Canon support page for your printer: Select Drivers and Downloads. Choose Windows 11 as your operating system if it is not automatically detected. Download the Full Driver and Software Package instead of a basic driver.
The full package includes the driver, utility software, and the Printer Assistant Tool. Saving this file to your desktop or Downloads folder makes it easier to locate during installation.
At this stage, you might wonder why the full package is recommended. The reason is simple. A basic driver allows printing, but the assistant tool requires additional support files that are only included in the complete package.
Once the file is downloaded, you are ready to install it.
Step 3: Install the Canon Driver and Assistant Tool
Locate the downloaded setup file and double-click it to begin installation. If prompted by Windows 11, click Yes to allow the app to make changes to your device.
Follow the on-screen instructions carefully. During installation:
Agree to the license terms. Choose your connection type, either USB or Wi-Fi. Connect the printer when prompted.
If you are using Wi-Fi, make sure your printer and computer are connected to the same network. The installer will automatically detect the printer on your network.
Once installation is complete, restart your computer. This step ensures that all driver components and the Printer Assistant Tool register correctly in Windows 11.
After the restart, you are ready to confirm whether the tool has been installed properly.
Step 4: Locate the Canon Printer Assistant Tool in Windows 11
After installation, open the Start menu in Windows 11 and search for your printer name. In many cases, the tool appears as Canon Printer Assistant Tool or under the printer model name.
You can also access it through:
- Control Panel
- Devices and Printers
- Right-click your Canon printer
- Select Printer Properties
- Click the Maintenance tab
If installed correctly, you will see options such as Cleaning, Deep Cleaning, Nozzle Check, and Ink Level Information.
If you do not see these options, it may indicate that the full driver package was not installed. In that case, reinstall using the complete software package.
Now that you have located the tool, the next step is understanding how to use it effectively.
Check Ink Levels and Printer Status
Open the Canon Printer Assistant Tool from the Start menu or Devices and Printers.
Inside the interface, you will see an option such as View Printer Status or Ink Level Information. Clicking this will display:
- Current ink levels
- Paper status
- Error messages, if any
- Connection status
Monitoring ink levels helps prevent unexpected printing interruptions. Instead of waiting for faded prints, you can replace cartridges in advance.
This feature becomes especially useful when printing important documents. Knowing the exact ink status gives you confidence before starting a large print job.
Perform Print Head Cleaning
If your prints show streaks, faded text, or missing colors, use the Cleaning feature inside the tool.
- Open the Maintenance tab.
- Click Cleaning.
- Select the cartridge group if prompted.
- Confirm and start the process.
The printer will run an automated cleaning cycle that clears blocked nozzles. This takes a few minutes.
After cleaning, print a Nozzle Check Pattern to verify improvement. If issues persist, you can run Deep Cleaning, but use it sparingly as it consumes more ink.
This built-in maintenance feature can save you from replacing cartridges unnecessarily. Many printing issues are resolved with a simple cleaning cycle.
Align Print Head for Better Quality
If your prints appear slightly misaligned or blurry, use the Print Head Alignment option.
Inside the Maintenance section, select Print Head Alignment and follow the instructions. The printer will print a test sheet. You may be asked to select the best-aligned pattern.
Alignment improves sharpness and ensures accurate color placement. This is especially important for photo printing.
With proper alignment, your printer performs closer to its original factory quality. Small adjustments can significantly improve output clarity.
Paper jam notifications, Offline status, or Ink cartridge recognition issues
The Canon Printer Assistant Tool also helps diagnose errors such as Paper jam notifications, Offline status, or Ink cartridge recognition issues.
If your printer appears offline in Windows 11, open the tool and check the connection status. Ensure the printer is powered on and connected to the same network.
For paper jams, follow the on-screen guidance. The tool often provides simple instructions specific to your model.
Instead of guessing what went wrong, the assistant tool gives direct insight into the problem. This reduces troubleshooting time and avoids unnecessary service visits.
Set Default Printing Preferences
You can also adjust printing preferences from the Printer Assistant Tool.
Access Printing Preferences and modify:
- Paper type
- Print quality
- Color or grayscale mode
- Duplex printing, if supported
Setting your preferred configuration as the default saves time for future print jobs. For example, if you frequently print in grayscale, you can make it the standard setting.
This small customization improves productivity and prevents repetitive manual adjustments.
FAQs
Is the Canon Printer Assistant Tool free?
Yes, it is included with the official Canon driver package at no additional cost.
Why is the tool not visible after installation?
Most likely, only the basic driver was installed. Download and install the Full Driver and Software Package from Canon’s official website.
Does the tool work on all Canon printers?
It works on most modern Canon inkjet and laser printers, but availability depends on the specific model and driver support for Windows 11.
Can I use it with a wireless printer?
Yes, as long as your printer and PC are connected to the same Wi-Fi network.
Is it necessary to restart Windows after installation?
While not always mandatory, restarting ensures proper driver registration and prevents detection issues.