Whether you’re using a printer from brands like HP, Brother, Epson, or Canon, installing or updating a printer driver in Windows 11 can happen in two main ways. The first is automatic installation, where Windows detects your printer and installs the correct driver for you. The second is manual installation, which involves downloading the driver directly from the printer manufacturer and installing it yourself.
Automatic installation works well for most modern printers because Windows 11 maintains a large database of drivers. However, if your printer is older, newly released, or has special features, you might need to install the driver manually to unlock full functionality.
This guide walks you through everything step by step in a clear way so you can confidently install your printer driver without getting stuck.
Let’s do this!
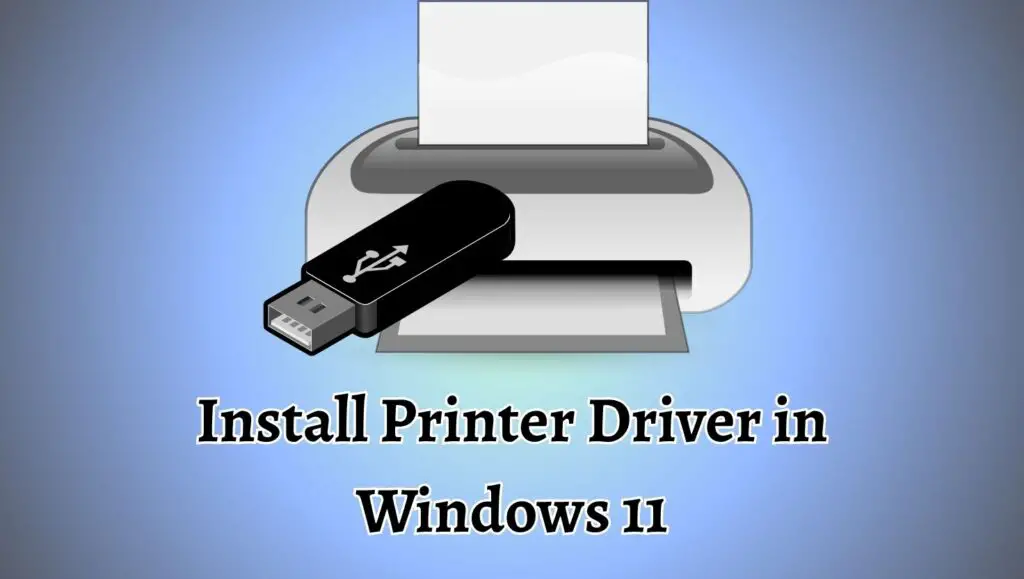
How to Install or Update Printer Driver in Windows 11? [HP, Brother, Epson, Canon, etc.]
To install or update a printer driver in Windows 11, connect your printer to your PC, go to “Settings,” then “Bluetooth & devices,” select “Printers & scanners,” click “Add device,” and follow the prompts. If Windows does not detect the printer automatically, download the driver from the manufacturer’s website and install it manually.
Let’s go through the process step by step so you can handle both situations smoothly.
Step 1: Prepare Your Printer and Computer
Before diving into settings, make sure everything is ready to go. This step might sound basic, but skipping it often causes unnecessary frustration later.
Turn on your printer and ensure it has power. If it’s a wired printer, connect it to your computer using a USB cable. For wireless printers, make sure the printer is connected to the same WiFi network as your computer. Most printers have a small display screen where you can check or configure the network connection.
Also, confirm that your Windows 11 system is updated. Sometimes, missing updates can prevent automatic driver installation. Go to “Settings,” then “Windows Update,” and click “Check for updates” if needed.
Getting these basics right sets you up for a smooth installation process.
Step 2: Open Printer Settings in Windows 11
Now that your printer is ready, head into the system settings where Windows manages devices.
Click on the Start menu and open “Settings.” Inside Settings, navigate to “Bluetooth & devices,” then click on “Printers & scanners.” This is the central hub where Windows lists all connected and available printers.
Here, you’ll see any printers already installed on your system. If your new printer isn’t listed yet, that’s perfectly normal. The next step is where Windows tries to detect it.
Step 3: Add a Printer Automatically
At the top of the “Printers & scanners” section, you’ll see an option labeled “Add device.” Click on it.
Windows 11 will start scanning for nearby printers. If your printer is properly connected, it should appear in the list within a few seconds. When you see your printer’s name, click on it and then select “Add device.”
At this point, Windows will automatically download and install the appropriate driver. This process usually takes a minute or two. Once done, your printer will appear in the list of installed devices.
This is the easiest method and works for most users. However, if your printer doesn’t show up, don’t worry. That just means you’ll need to install the driver manually.
Step 4: Install Printer Driver Manually
If Windows doesn’t detect your printer, you’ll need to install the driver yourself. This gives you more control and ensures compatibility.
Start by visiting the official website of your printer’s manufacturer. Look for a section labeled “Support” or “Drivers.” Enter your printer model number and download the latest driver compatible with Windows 11.
Once the file is downloaded, open it and follow the on-screen instructions. Most driver installers are straightforward and guide you through the process step by step.
During installation, you may be asked to connect your printer or confirm your connection type. Follow the prompts carefully. Once the installation is complete, your printer should appear in the “Printers & scanners” list.
Step 5: Add Printer Manually Through Windows
Sometimes, even after installing the driver, Windows doesn’t automatically add the printer. In that case, you can add it manually.
Go back to “Printers & scanners” and click “Add device.” Wait for the search to complete, then click on “Add manually” or “The printer that I want isn’t listed.”
You’ll see several options, such as adding a printer using an IP address or selecting a shared printer. Choose the option that matches your setup. For most home users, selecting a local printer or using a TCP/IP address works best.
Follow the prompts, and when asked to select a driver, choose the one you installed earlier. This ensures proper communication between your system and the printer.
Step 6: Set Your Printer as Default
After installing the driver and adding the printer, it’s a good idea to set it as your default device.
In “Printers & scanners,” click on your printer and select “Set as default.” This means Windows will automatically use this printer unless you choose otherwise.
This step is especially helpful if you have multiple printers installed, as it saves time when printing documents.
Step 7: Print a Test Page
Now comes the satisfying part. Testing your setup.
Click on your printer in “Printers & scanners,” then select “Printer properties.” Inside the properties window, look for the option “Print Test Page.”
This confirms that the driver is installed correctly and that your printer is communicating with your computer. If the test page prints successfully, you’re all set.
If it doesn’t, double-check your connections and ensure you selected the correct driver.
Faqs
What is a printer driver, and why is it important to update it?
A printer driver is software that allows your computer to communicate with your printer. Without it, your system cannot properly send print commands, making the printer unusable.
Does Windows 11 install printer drivers automatically?
Yes, Windows 11 often installs drivers automatically when you connect a printer. However, manual installation may be required for certain models or advanced features.
How do I find my printer model number?
The model number is usually printed on the front or back of the printer. It can also be found in the printer’s settings menu or packaging.
Can I use an old printer with Windows 11?
Yes, but compatibility depends on whether a suitable driver is available. Check the manufacturer’s website for Windows 11 support.
What should I do if my printer is not detected?
Ensure the printer is powered on and connected properly. Try restarting both devices and reinstalling the driver if needed.
Is it safe to download drivers from third-party websites?
It’s always best to download drivers from the official manufacturer’s website to avoid security risks and compatibility issues.
Summary
Installing or updating a printer driver in Windows 11 a straightforward process. Whether you rely on automatic detection or go the manual route, the key is understanding how your system communicates with your printer.
Start by preparing your devices and ensuring everything is connected correctly. Use Windows settings to attempt automatic installation, and if that doesn’t work, download the driver directly from the manufacturer. From there, manually add the printer if needed, set it as the default, and run a test print to confirm everything is working.
The good news is that once your printer is set up, you rarely need to repeat the process. With the right driver in place, your printer will work smoothly whenever you need it.