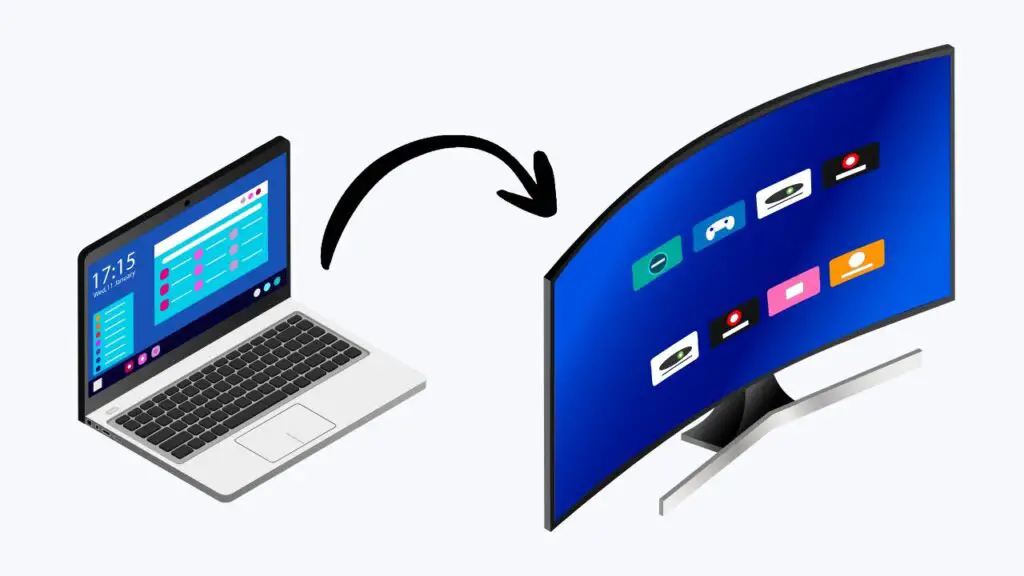
Casting your laptop screen to a TV in Windows 11 is an excellent way to enjoy videos, presentations, or even casual browsing on a larger display. Whether you are streaming a movie, sharing a slideshow, or mirroring your desktop, Windows 11 makes the process simple.
You can connect wirelessly using Miracast or use a cable connection if your TV supports HDMI input. Follow these steps to cast your laptop to your TV with ease.
Outline
- Connect your laptop and TV to the same Wi-Fi network.
- Open Settings and go to System > Display.
- Select Multiple displays and choose “Connect to a wireless display.”
- Pick your TV from the list and approve the connection.
- Use HDMI as an alternative if your TV does not support wireless casting.
How to Cast Laptop to TV Windows 11: Easy Steps

Step 1: Connect Both Devices to the Same Network
Before you begin, make sure your Windows 11 laptop and your TV are connected to the same Wi-Fi network. This is necessary for wireless casting. If your TV does not have Wi-Fi, you can still connect with an HDMI cable directly from your laptop.
Step 2: Open the Settings App
On your laptop, press Windows + I to open the Settings app. From here, navigate to System and then select Display.
This is where you will find options to detect and connect to other screens.
Step 3: Select Multiple Displays
In the Display section, scroll down and click on Multiple displays. Then select Connect to a wireless display.
Windows will begin searching for compatible devices on the same network.
Step 4: Choose Your TV from the List
Your smart TV or Miracast-enabled device should now appear in the list. Click on the TV name, and Windows will attempt to establish a connection. You may see a prompt on your TV asking you to allow the connection, confirm it to continue.
Step 5: Adjust Display Settings
Once connected, your laptop screen will appear on your TV. You can customize how the display works by choosing between Duplicate (same screen on both devices) or Extend (use your TV as an additional monitor).
These options are available under the Multiple displays settings.
Step 6: Use an HDMI Cable (Alternative Method)
If your TV does not support wireless casting, simply connect your laptop to the TV using an HDMI cable.
Once plugged in, press Windows + P and select your display mode just like you would with a wireless display.
Tips to Mark
If your TV does not appear in the device list, make sure it supports Miracast and is turned on. Restarting your laptop and TV can often resolve detection issues. For smoother performance, keep both devices closer to the Wi-Fi router to reduce lag. If you are using HDMI, ensure the correct input source is selected on your TV.
Frequently Asked Questions
Why isn’t my TV showing up when I try to cast?
This usually happens if your TV does not support Miracast or if both devices are not on the same Wi-Fi network.
Can I cast to a non-smart TV?
Yes, but you will need a streaming device like Chromecast, Amazon Fire TV Stick, or Roku connected to your TV.
Is there any lag when casting wirelessly?
There can be minor delays depending on your Wi-Fi strength. Using an HDMI cable usually eliminates lag.
Do I need special drivers to cast in Windows 11?
No, Windows 11 has built-in support for Miracast, but you should keep your graphics and network drivers updated for the best performance.
Conclusion
Casting your Windows 11 laptop to your TV can transform your viewing experience, whether you are streaming content or working on a larger screen. By ensuring both devices share the same network and using the built-in display settings, you can connect wirelessly within minutes.
For the most reliable connection, an HDMI cable remains a great alternative.